Picture extravaganza


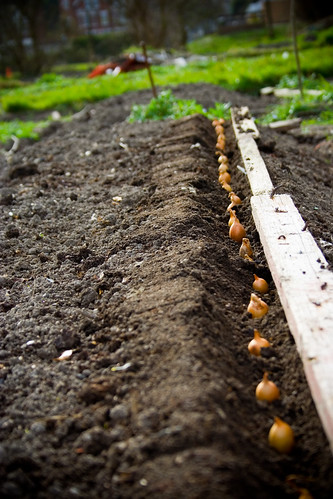
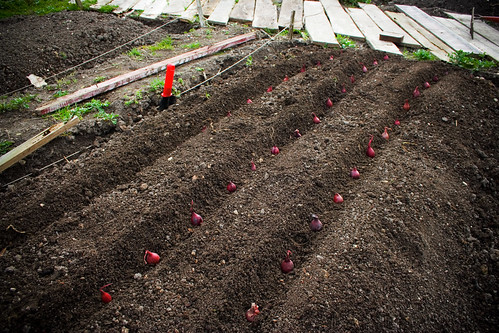

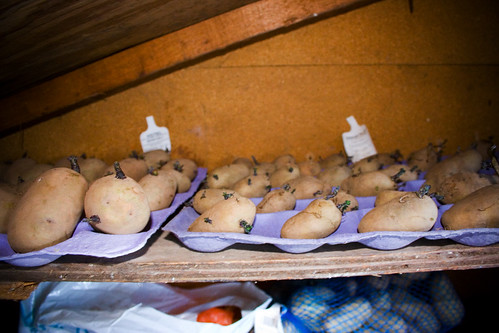

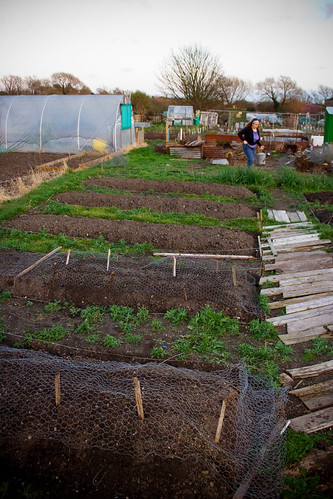
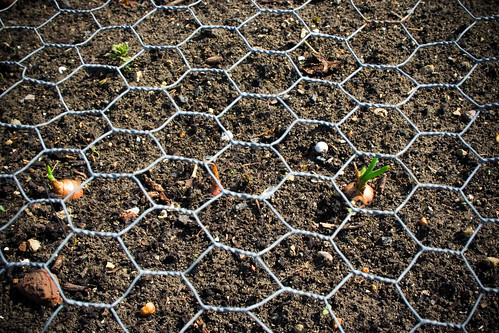
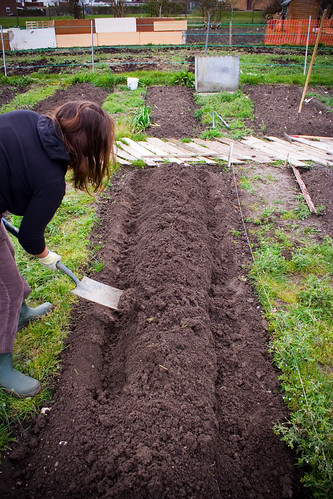
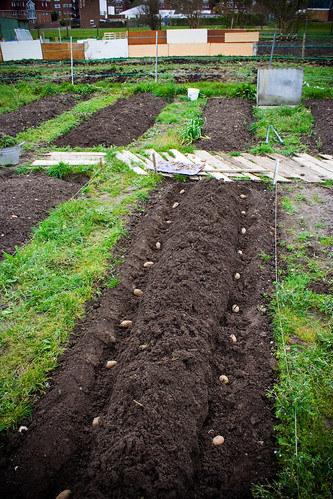
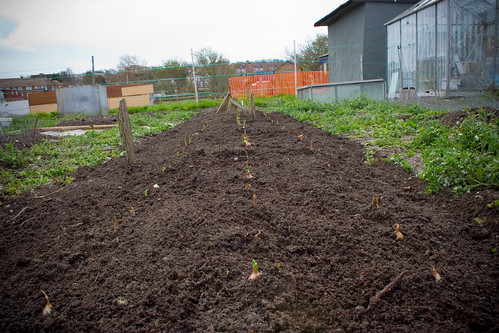

I promised new pictures, and I think I’ve delivered more than my fair share. As the Brief(ish) update below suggests, quite a bit has happened with the onset of spring, including a surprise bout of snow today! The ground is covered to about 10 Inches deep in places here, but unfortunately we’ve not been able to get down to the allotment to check on the fruits (and veg) of our labour. I’m not too hopeful about our newly planted salad crops surviving the cold…The garlic, potatoes and onions should fair better, with any luck.
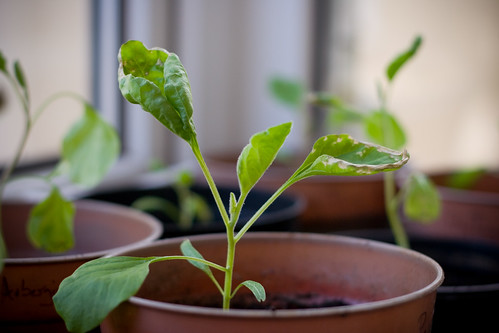
Back at home the aubergine plants are doing well in their new individual pots. Most of them suffered a bit of leaf damage before they came out of the propagator when we left them to their own devices for a week and went on holiday. When we got home from our neglectful stint in the sun the aubergines had grown quite vigorously and the large leaves had become covered in condensation. This sitting water seems to have ‘burned’ the leaves somewhat, but at least they didn’t go the opposite way and dry out. I think that would have proved more fatal.
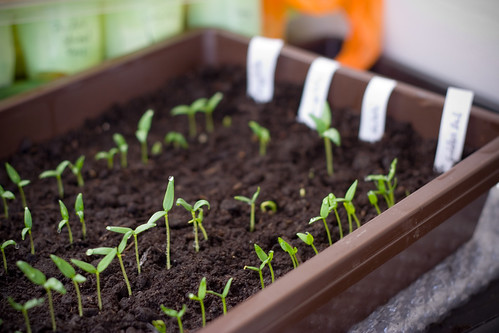
The new residents of the propagator are the sweet peppers I planted a week or so ago. You can see these in one of the pictures above sprouting up quite happily, so I’m quite positive about those giving us a good crop in the future, provided they make the transition to the greenhouse without too much trouble. It’ll be time to pot them on soon enough, then we’ll have to start thinking about what’s next to go into the nice warm propagator for germination.
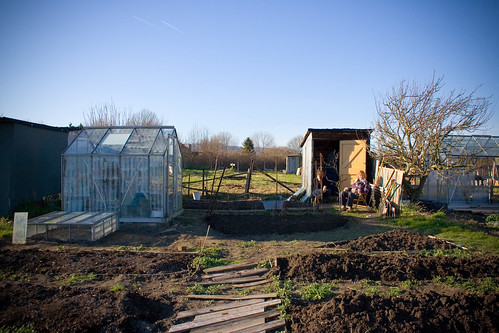
We measured up the internal dimensions of the greenhouse recently to see if it will accommodate a cheap pasting table. I was going to remove the top surface of the table and then replace it with some cheap wooden batons, spaced a centimetre or so apart. Then I was going to soak the whole thing in wood preserver to give it a slightly longer life. This will give us a nice workspace on one side of the greenhouse, while the other side can be given over to the actual growing of tasty veg.
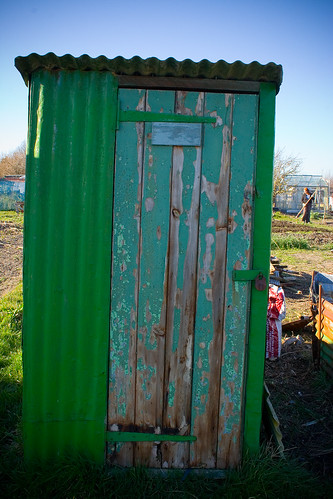
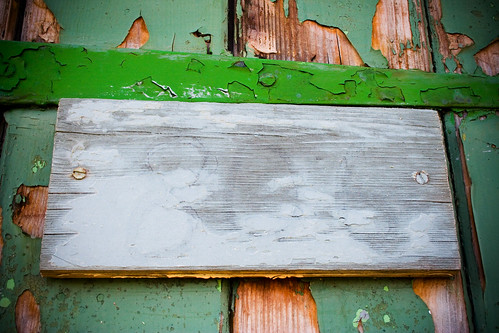
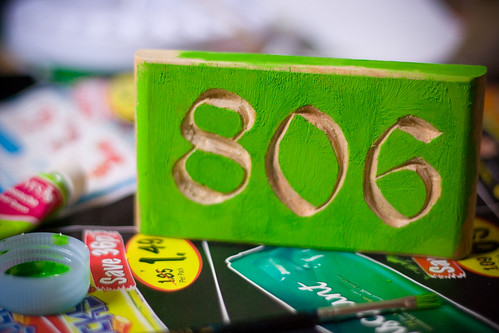
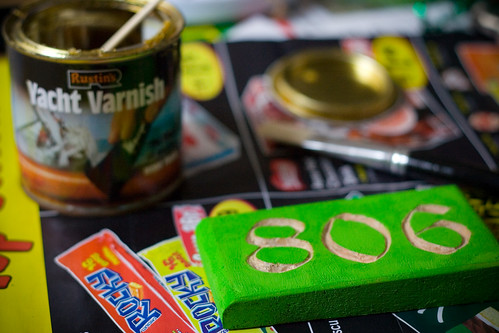
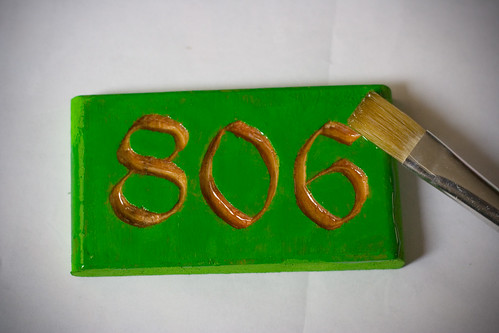
Our plot’s needed a sign for a while now - one stating the plot number, it’s a requirement of the allotment. It’s taken me a while to get round to it as I’ve had quite a few ideas about how I wanted to do it. One version was going to be etched from copper, another was constructed from brass Meccano gears all linked together and driven by a solar powered motor. Our plot number is 806, meaning that a number of round gears and a small ratchet arm for the top part of the 6 would have worked together quite well. However, even on ebay brass Meccano gears sell for quite a lot of money, so in the end I decided on a simple carving on a scrap piece of wood (as you can see in the pictures above). I printed the numbers out then transferred them to the wood using a pin to pick the outline. I then used a V-Gouge to carve this outline. I’ve now given it a coat of green paint and one of a hard wearing Yacht Varnish. It’ll get another coat and then I’ll fix it to the small shed at the front of our plot. I’m still going to keep an eye out for cheap gears…
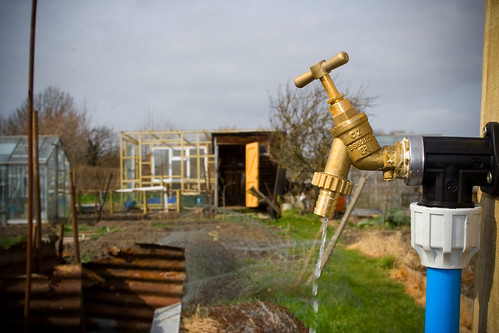
Ah yes, the tap! I’ve forgotten to mention it up until now. We went up to the plot one day (I think it was last month) to find 4″x4″ post with a tap fixed to it, driven into the ground next to our compost heap. To our delight the tap worked and now we have an incredibly handy water supply. Although we’re very lucky to now have a tap so close to hand, we’re going to try avoid using it seeing as we have perfectly good rainwater collected in the 2 large old water tanks that Old Bob left us. There is a third tank on the plot but it never fills up due to the rusty holes. I might have a go a patching these up to some degree if possible.
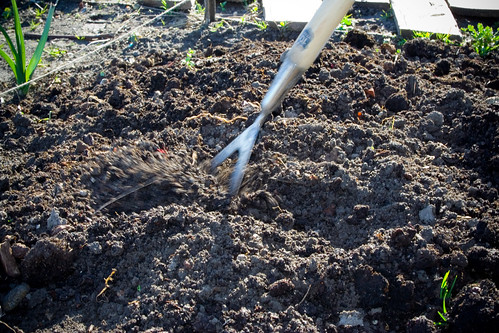
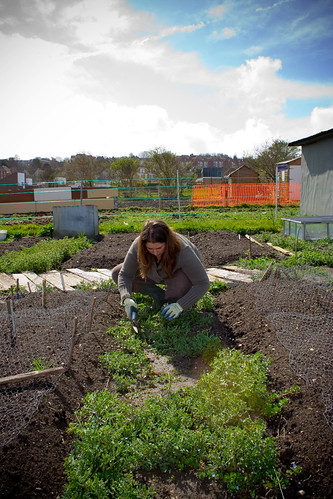
Before we left the plot last time we were there we dug another small triangular bed next to cold frame, this is now the new home for our strawberries. We’ve been growing these at home for a while now with varying success. Our losses to the local wildlife tends to outnumber the amount we actually eat, but I’m sure with some effort we can get the odds back in our favour. This bed is different to all our others so far. We dug in lovely compost from our heap as usual (after removing the crisp packets, which inexplicably, haven’t broken down yet…What was Old Bob thinking?). The difference with this bed is that we went for a classy brick edging! Unfortunately I’ve not got any pictures of that yet, but that’s a treat for the future. The result is quite nice though and we’re now considering the same finish for the opposite bed, which is also triangular and now full of very frosty lettuce thanks to the snow. We’ll need to get hold of some more bricks first though and that’s a whole different matter.
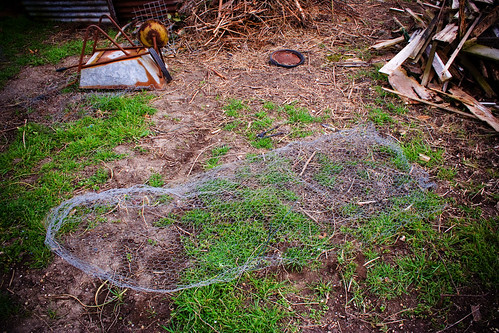
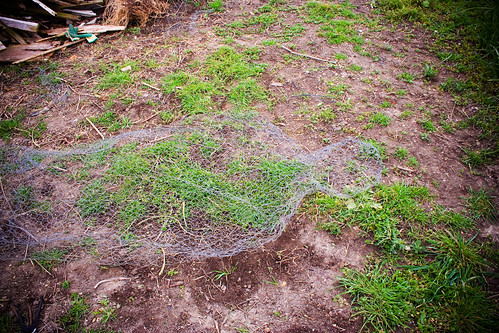
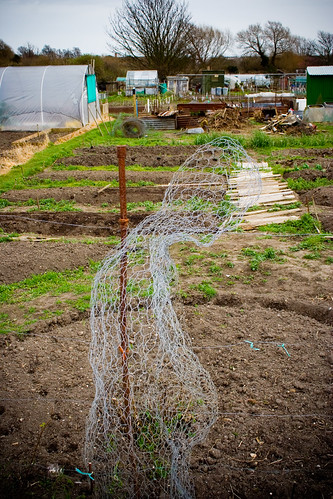
Lastly, I decided to have a bit of a go at chicken wire sculpture given that we have so much of the stuff. I went for the ghostly figure of a monk in robes and I think it came out reasonably well. It sits at the top of our plot looking towards the greenhouse. I’ve been thinking about moving it closer to the bottom of our plot, nearer the main path and then growing a climbing plant up the inside to flesh it out a bit. I think I’ll wait until we’re a bit less busy with the planting first…If that ever happens.
March 9th, 2009 at 12:07 pm
I hope you don’t me asking, but you mention having a bed with “classy brick edging”. I’ve been looking for just this. Where did you get it?
March 16th, 2009 at 4:35 pm
Hi Joe,
Unfortunately the “classy brick edging” comment was a bit of a sarcastic jibe at our own handywork rather than an actual product I can guide you to. We just used old red building bricks that were lying around the allotment - half burried and then pointed with soil.
Good luck in your search, sorry I can’t help.